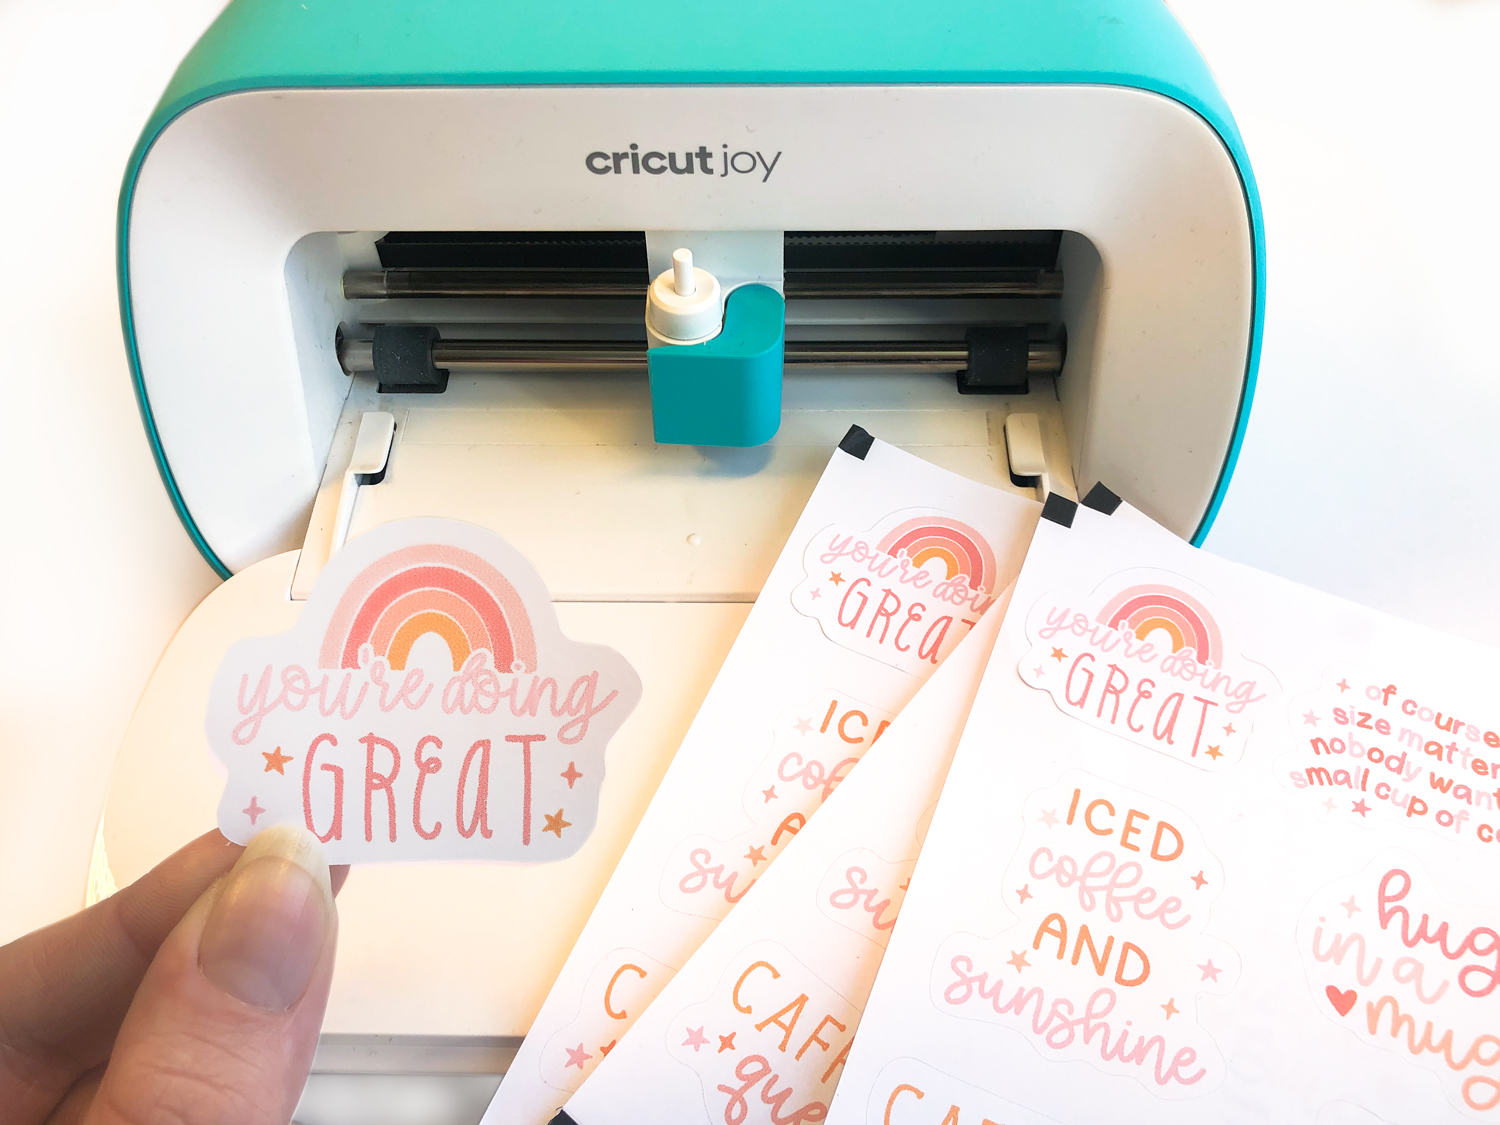
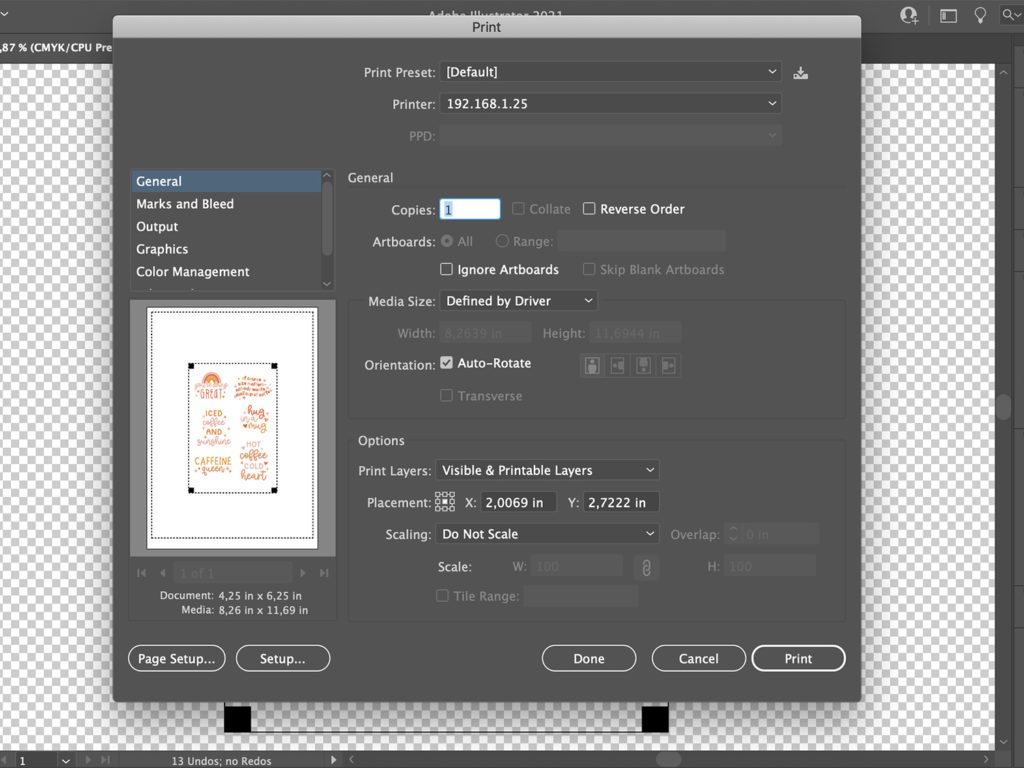
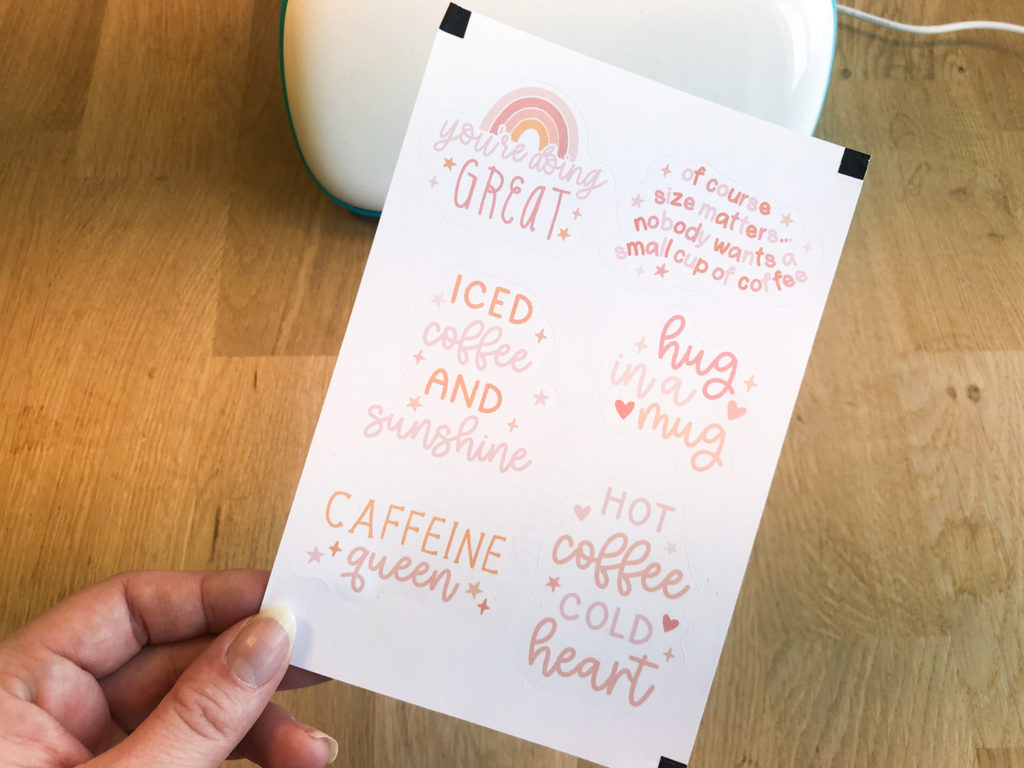
Because we can’t print then cut in Design Space itself we will have to separate both processes. We will first print our stickers from our design program and then later cut them through Design Space.
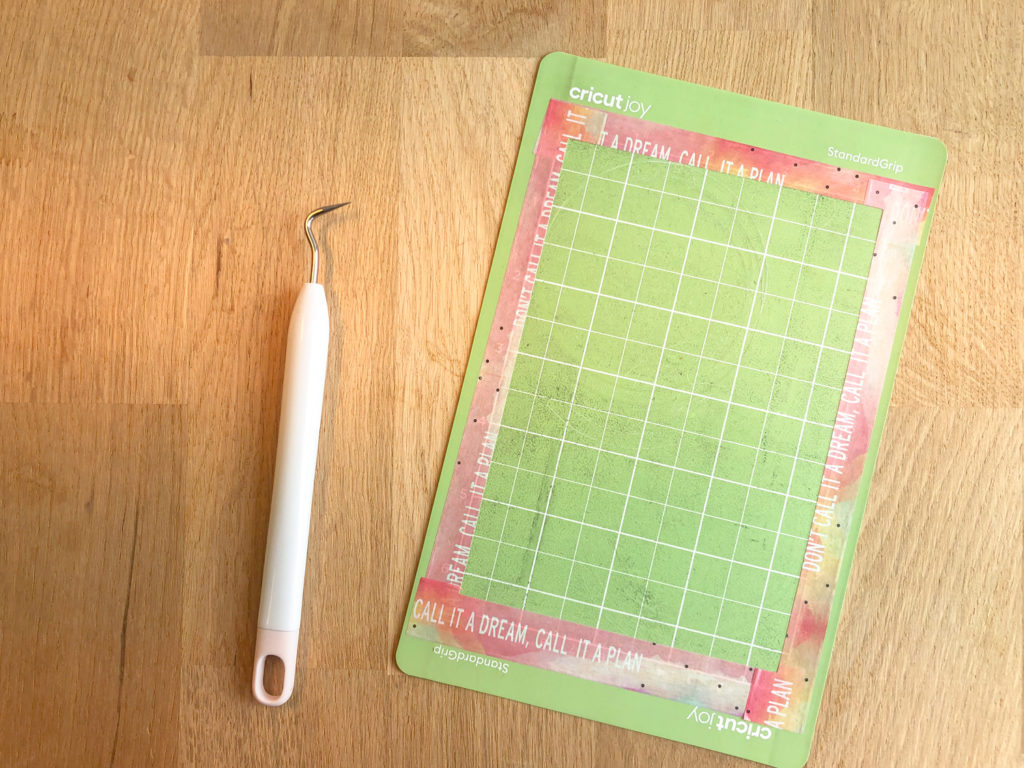
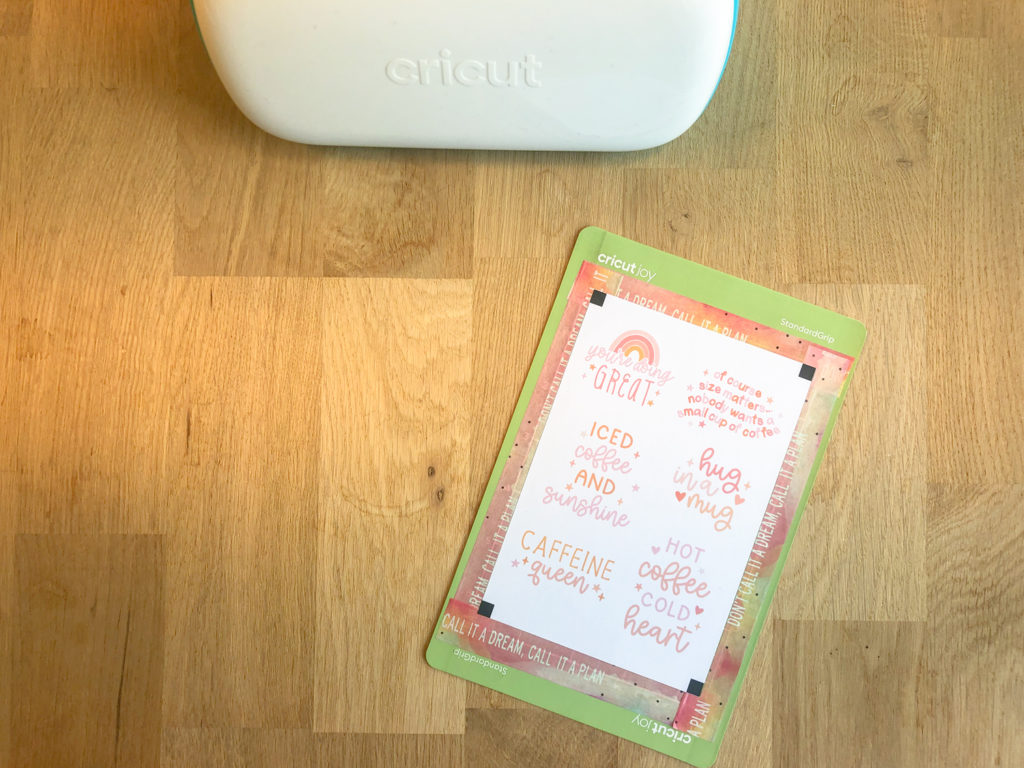
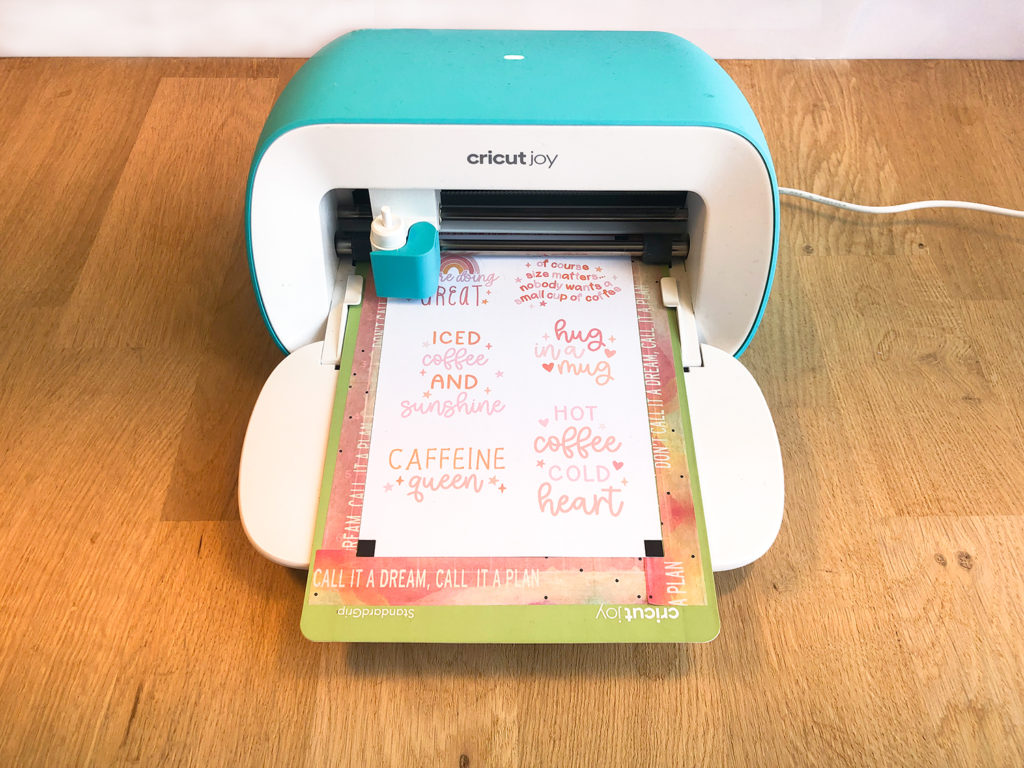
Because we need the printed stickers to match up with with the cut lines for the stickers we need to sort out our Cricut cutting mat first. We need to make sure that our print will line up with our cut lines.
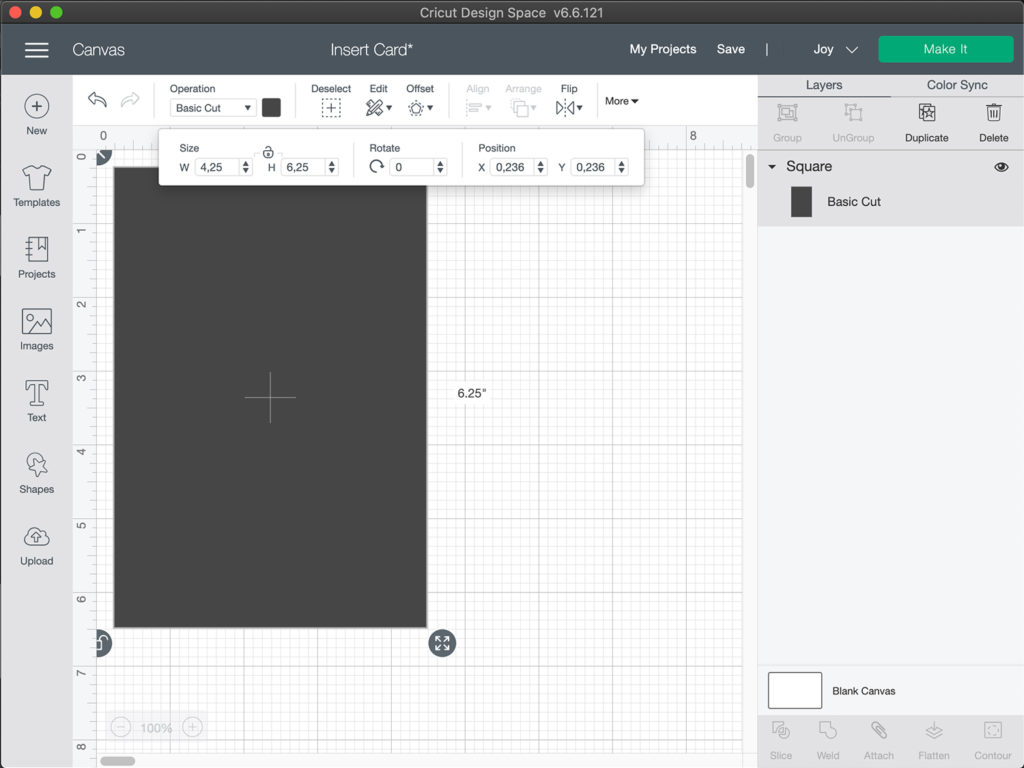
The Cricut Joy has a 4,25” x 6,25” cuttable area. As you know the mat itself is 4,5” x 6,5”. So we need to establish what the cuttable area is on the mat. We will do this by aligning the mat with some tape. I used Washi tape but you can also use masking tape or some other tape that is easy removable. Make sure you slightly overlay it over the edge lines so there will be enough tape left when we cut it.


This was so helpful! Newbie here and my first cricut is a joy! This was so informative! Thank you!
You are welcome happy to help. And happy crafting!
I did it thank you so much x
This is great! I really want to make stickers and i was having a very difficult time figuring it out so ty!!!
You are welcome, happy to help 🙂
Thanks for the information! What type of sticker paper did you use?
Hi,
You are welcome I use either Quantore or Avery Sticker paper (printer labels).
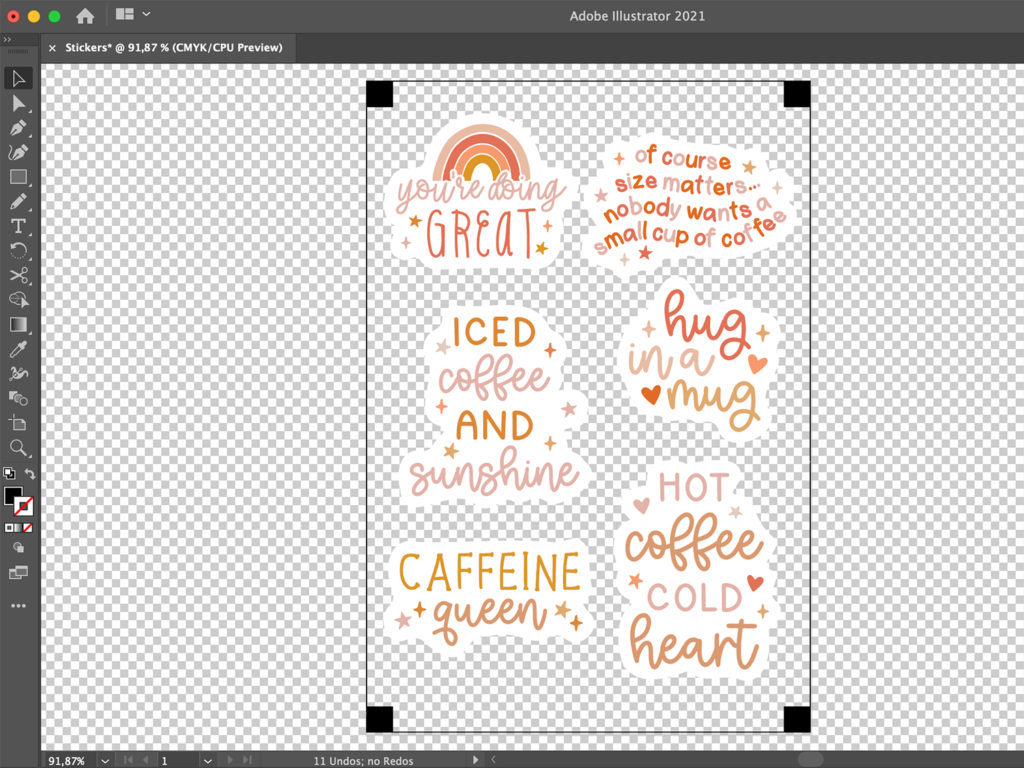
I see you used Adobe Illustrator. Any recommendations on a free/user friendly program? I’ve used Krita before but it takes tons of effort just to make a single item so I was hoping there was an easier program.
Hi,
That is correct. I would suggest using Canva. It is a free online design software. You can just sign up for an account and then set up any size document and place your png images in there. Then you can export it as a png file as well and upload it to Cricut.
Pingback: Can You Make A Banner With Cricut Joy? – Fallsgardencafe
This is a great tutorial. What kind of paper did you use to print the stickers from adobe?
I used sticker paper. I believe it was from Avery and they call it label paper. So it is already sticky 🙂
Thanks for your blog, nice to read. Do not stop.
Thank you.
Thank you so much for this ! Can you do this with craft paper ? For cake toppers ?
Yes you can apply the same technique for any print and cut projects you need really. You just need to choose the right cut setting once cutting your files. As craft paper will be a lot thicker then the sticker paper.
So you can’t do this if you don’t have a design platform like you showed here (adobe illustrator or similar)? I’m so new and really want to make stickers.
I have not worked out yet a way to set it up fully using Cricut only. But I will keep exploring those options. But you don’t need Illustrator. You can also use a free software like Canva for example.
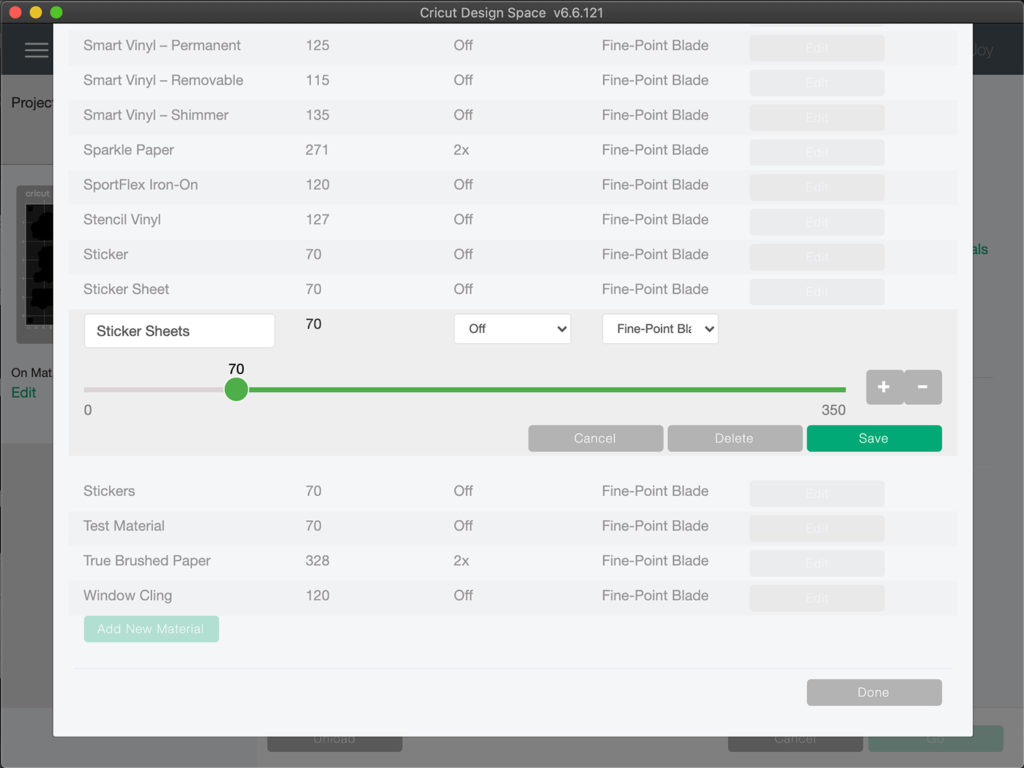
I just recently purchased the Cricut Joy. I’ve used 135gsm sticker paper and put custom material setting down with 70 cut pressure. Yet still my Joy cuts through the paper and does not cut as kiss cut.
I do not know what else to do
Hi,
Ok it might be because your Cricut Joy is so new so the blade is really sharp. I think I remember I had the same issue at the start with everything I was cutting. I guess 70 is already the lowest setting? I would choose the lowest setting. And then in the cutting display you can also choose “pressure” and you can choose “less”. Maybe this can help. But otherwise I would say if you end up using your blade more often for other projects like paper or vinyl the blade gets less sharp and works better for the sticker paper.
Thank you for this information